Hardware build & Python emulator
Signetics 2650
8-bit Microprocessor
From a 1978 magazine build to a full software emulation — revisiting the joys of 8-bit programming
The hardware build
The original hardware was built in 1978, based on a series of construction articles published in Electronics Australia. The project came together across three issues: the low-cost Video Display Unit appeared in February 1978, the keyboard interface in April 1978, and the complete 2650 Mini Computer System in May 1978. Together they formed a capable, self-contained machine that was, for the time, remarkably affordable to build from scratch.
Scanned copies of all three issues are available on the Internet Archive:
The Python emulator
The emulator recreates the 2650 CPU, making it possible to write and run 2650 programs using the built in assembler.
Full instruction set and memory emulation.
A 16-line × 64-character VDU, representing 1,024 bytes of VRAM.
Eight LEDs and soft switches driven by I/O port engagement.
Eight digits of 7-segment display emulating the 74LS138 decoder and DM9368 driver chips.
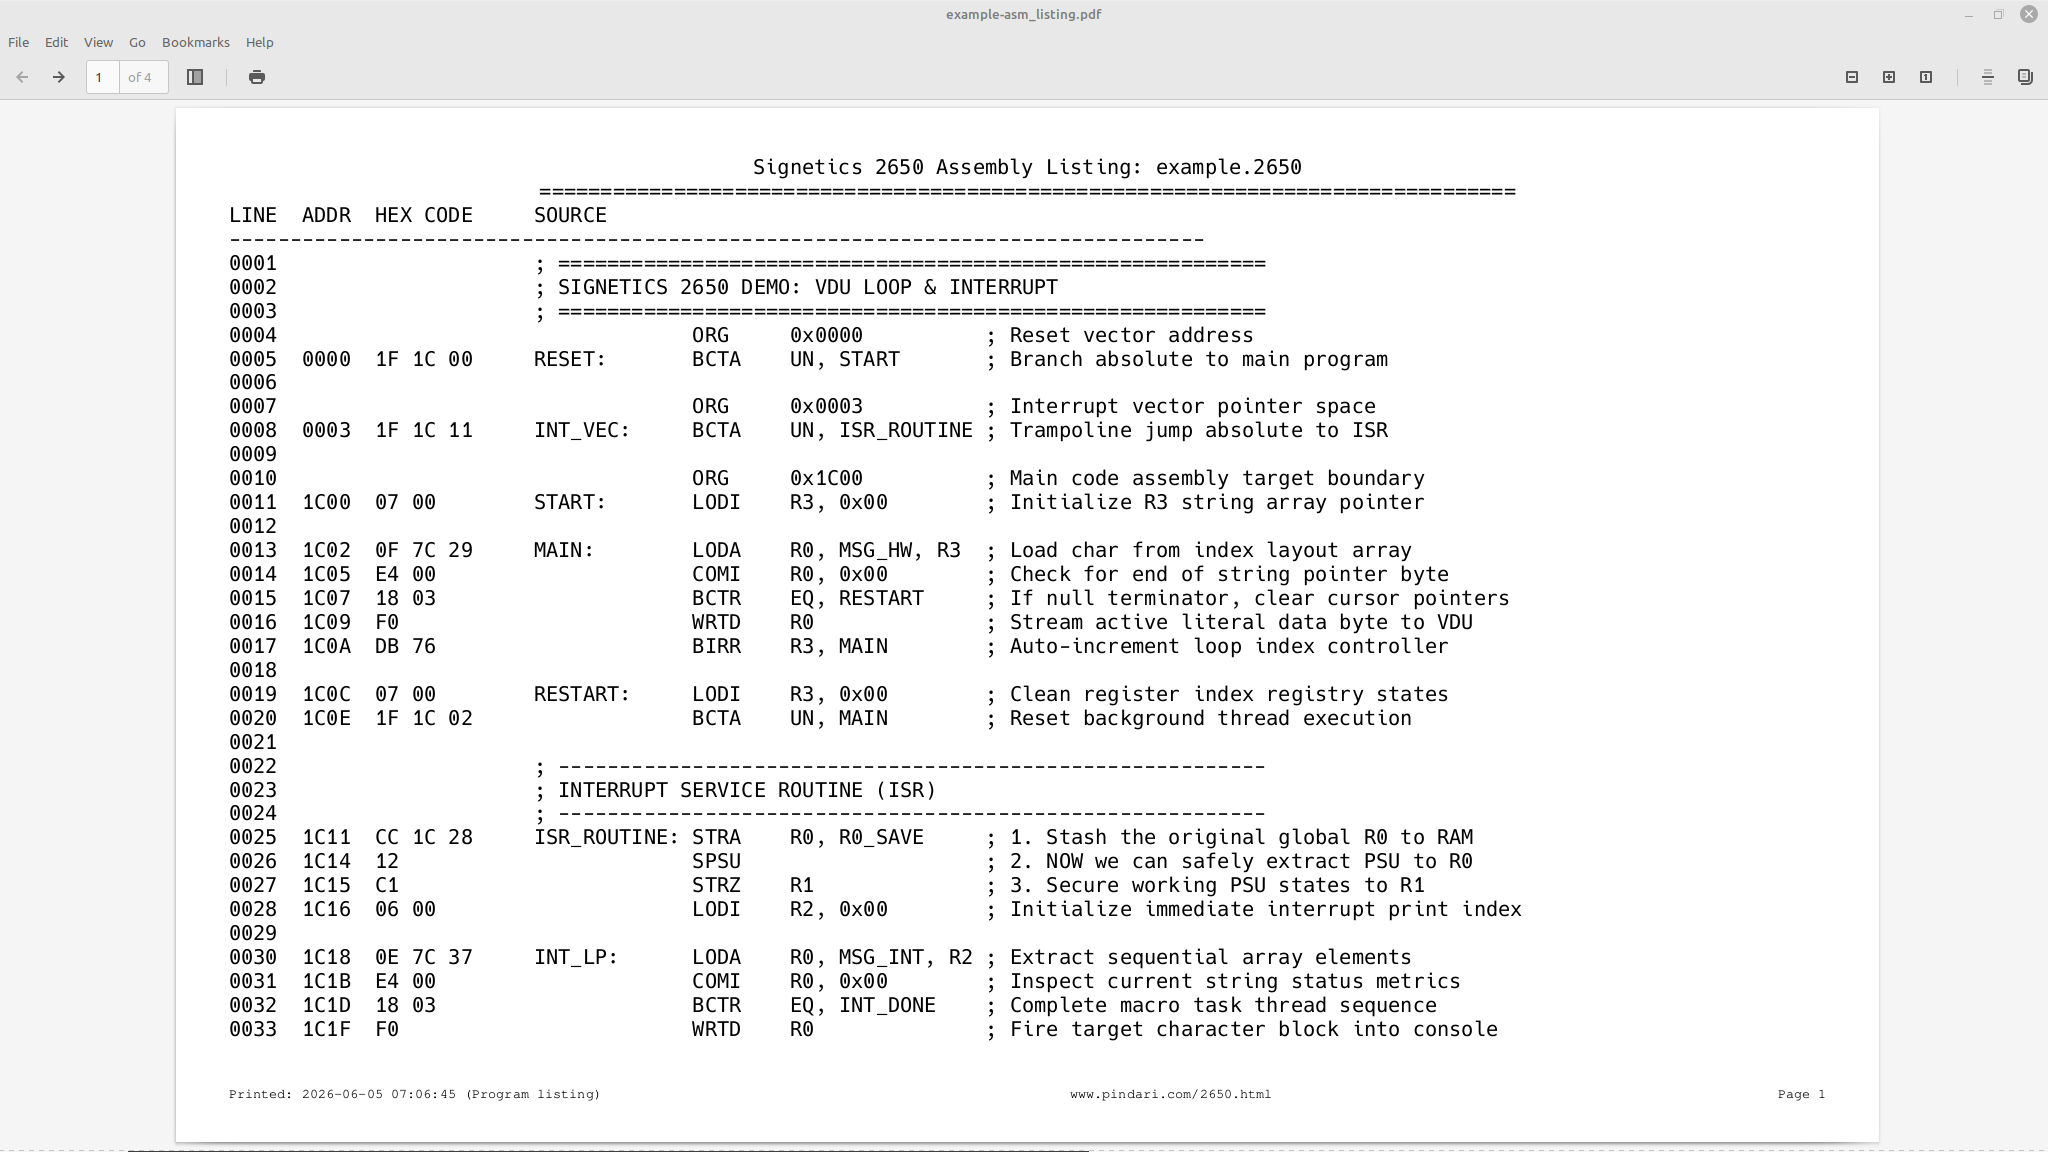
Assembler source code is read in, assembled and the memory populated ready for execution.
Inspired by the Casio CM-100, a built in calculator allows for 8-bit calculations in Binary, Decimal or Hexadecimal. Operations include base conversion, logical operations, and shift functions.
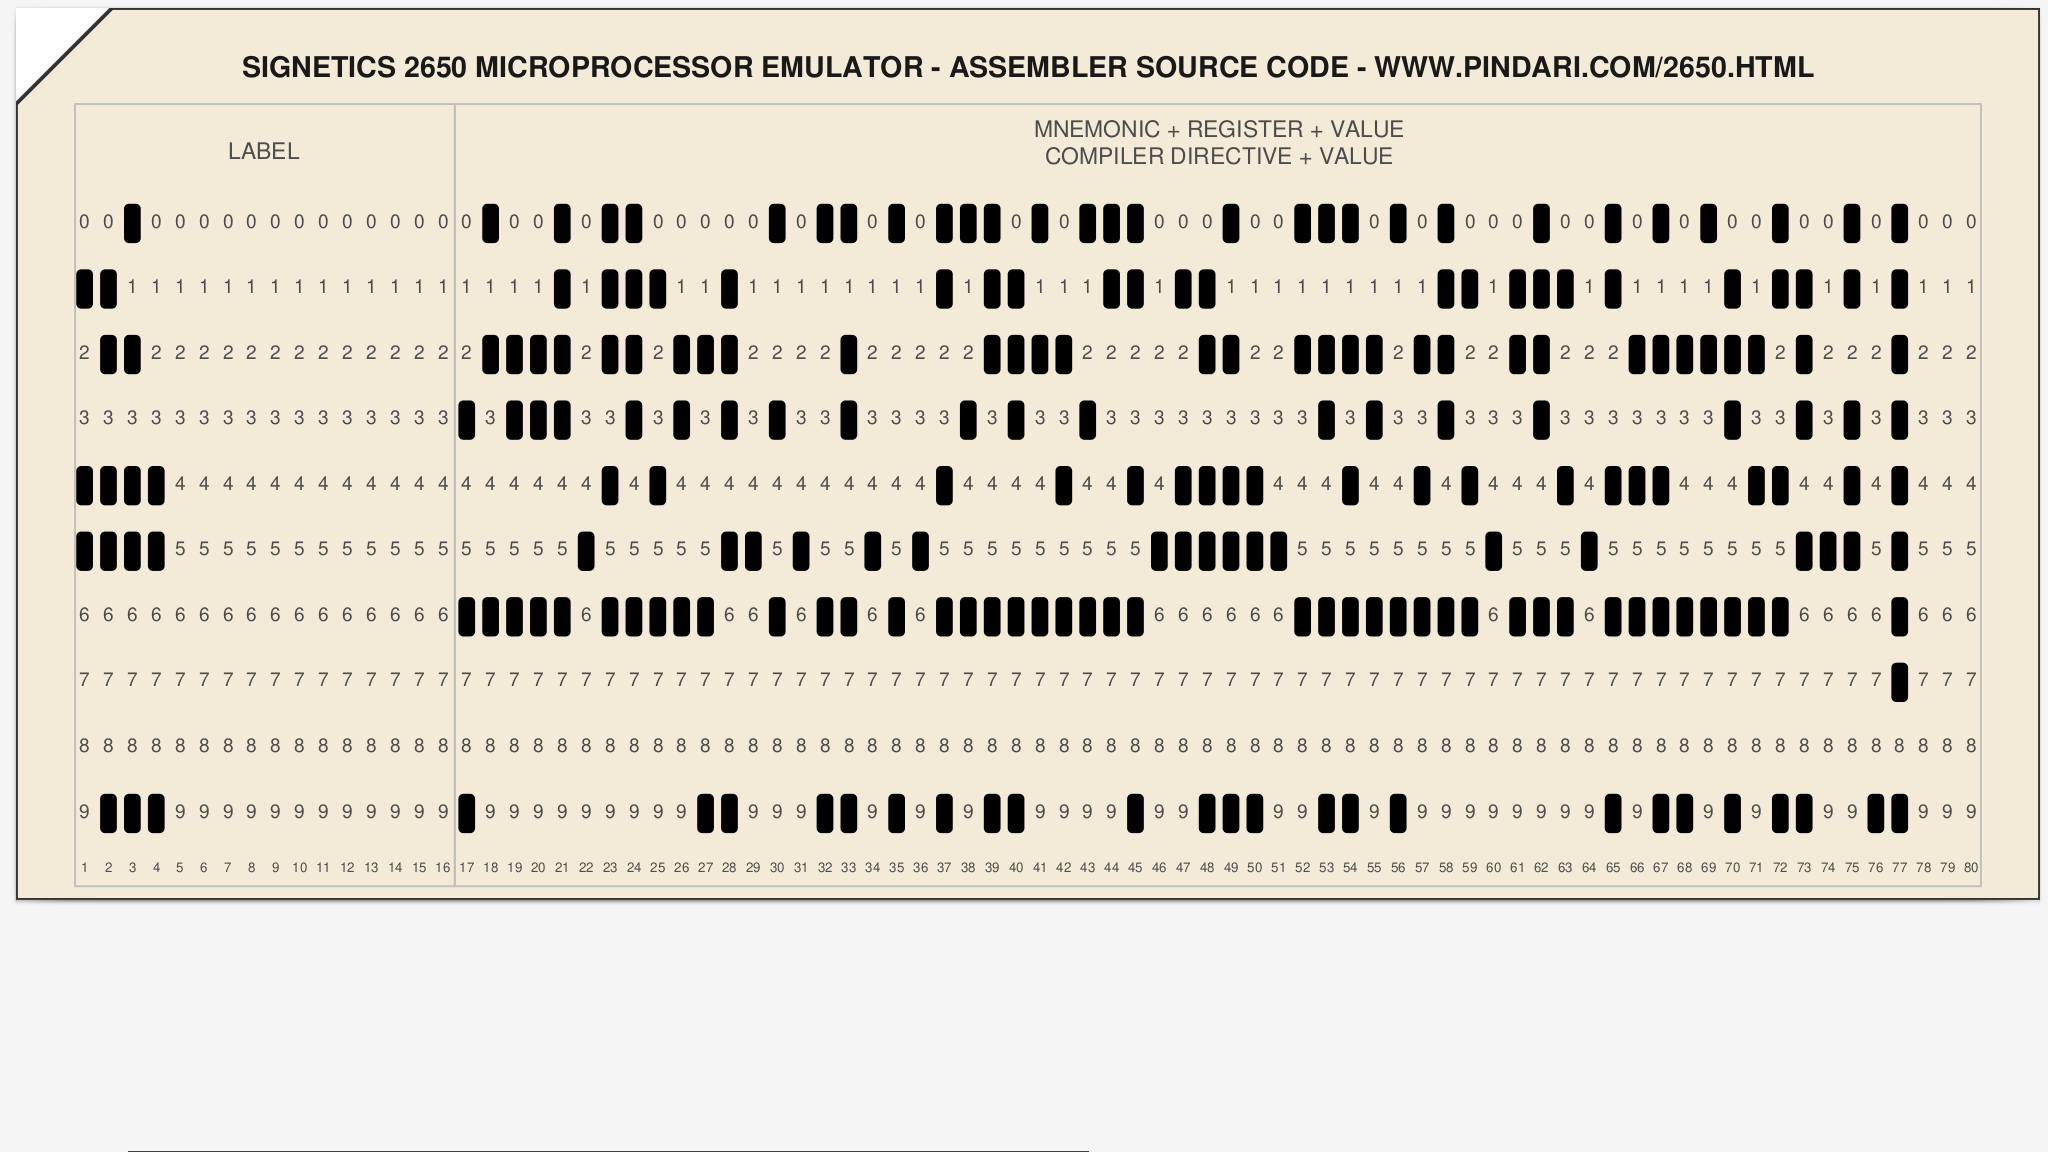
For nostalgic reasons, the software creates a PDF representation of punch cards to store the assembler source code. The software can also read back the PDF file of punch card images.
Embedded help pages include the full mnemonic instruction set sorted by function and hexadecimal code, together with a detailed description of each instruction.
The state of each register, entries on the stack, and memory locations can be loaded directly from a memory state file.
The emulator will step through each instruction on demand, or can be set to run with a 1 second, 100ms, 10ms or 1ms delay between instructions.
VDU — 16 lines × 64 characters
The terminal displays 16 lines of 64 characters, with a blinking cursor, driven entirely by the 2650's I/O port writes.
LEDs and soft switches
The emulator renders the eight output LEDs in real time as I/O port values change. Soft switches are toggled via the keyboard, feeding back into the 2650's sense inputs.
Seven-segment display
Eight 7-segment digits emulate the 74LS138 for digit selection and the DM9368 BCD-to-7-segment latch/driver.
Screenshots
Six screenshots highlighting some of the features of the emulator.
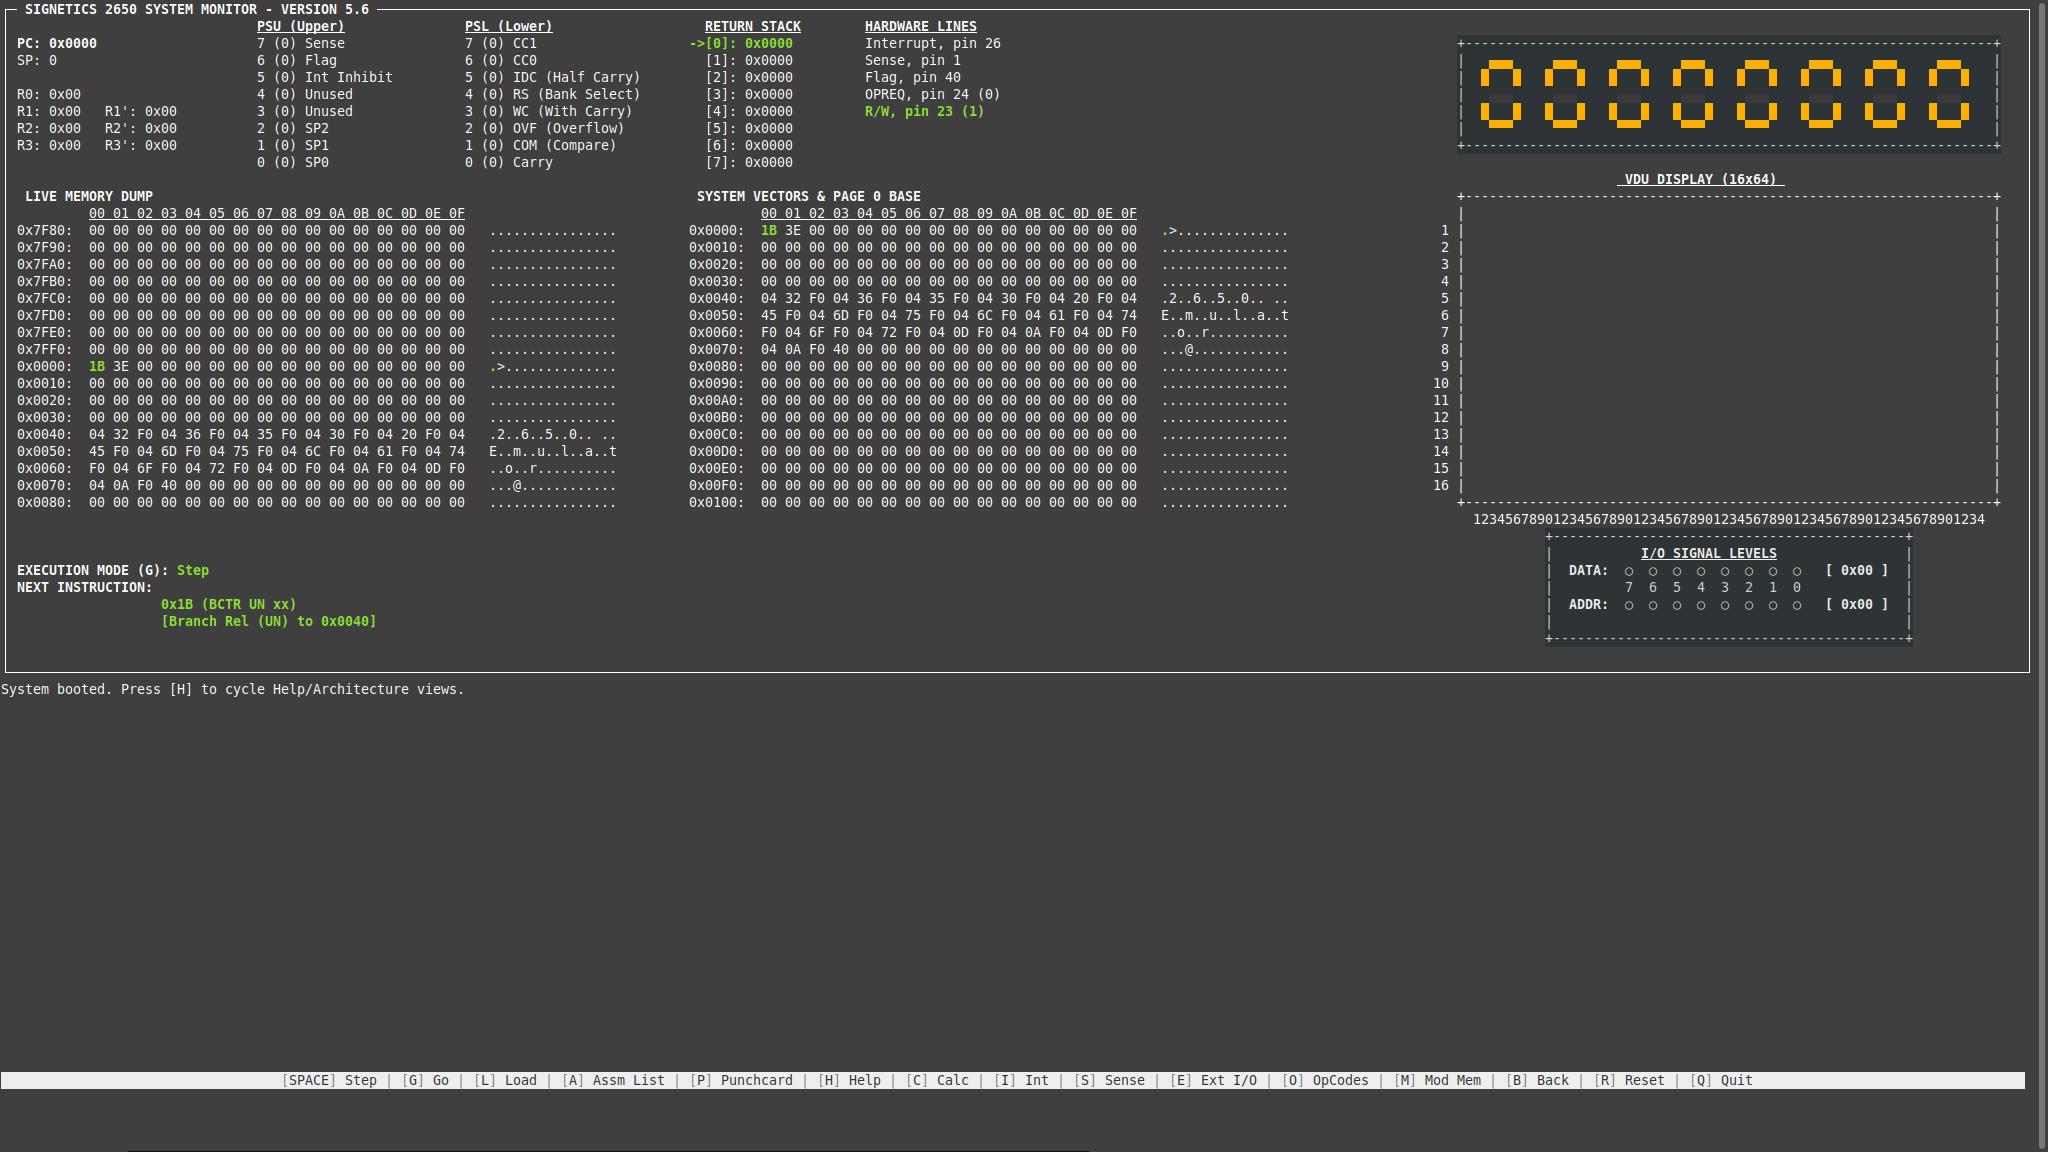
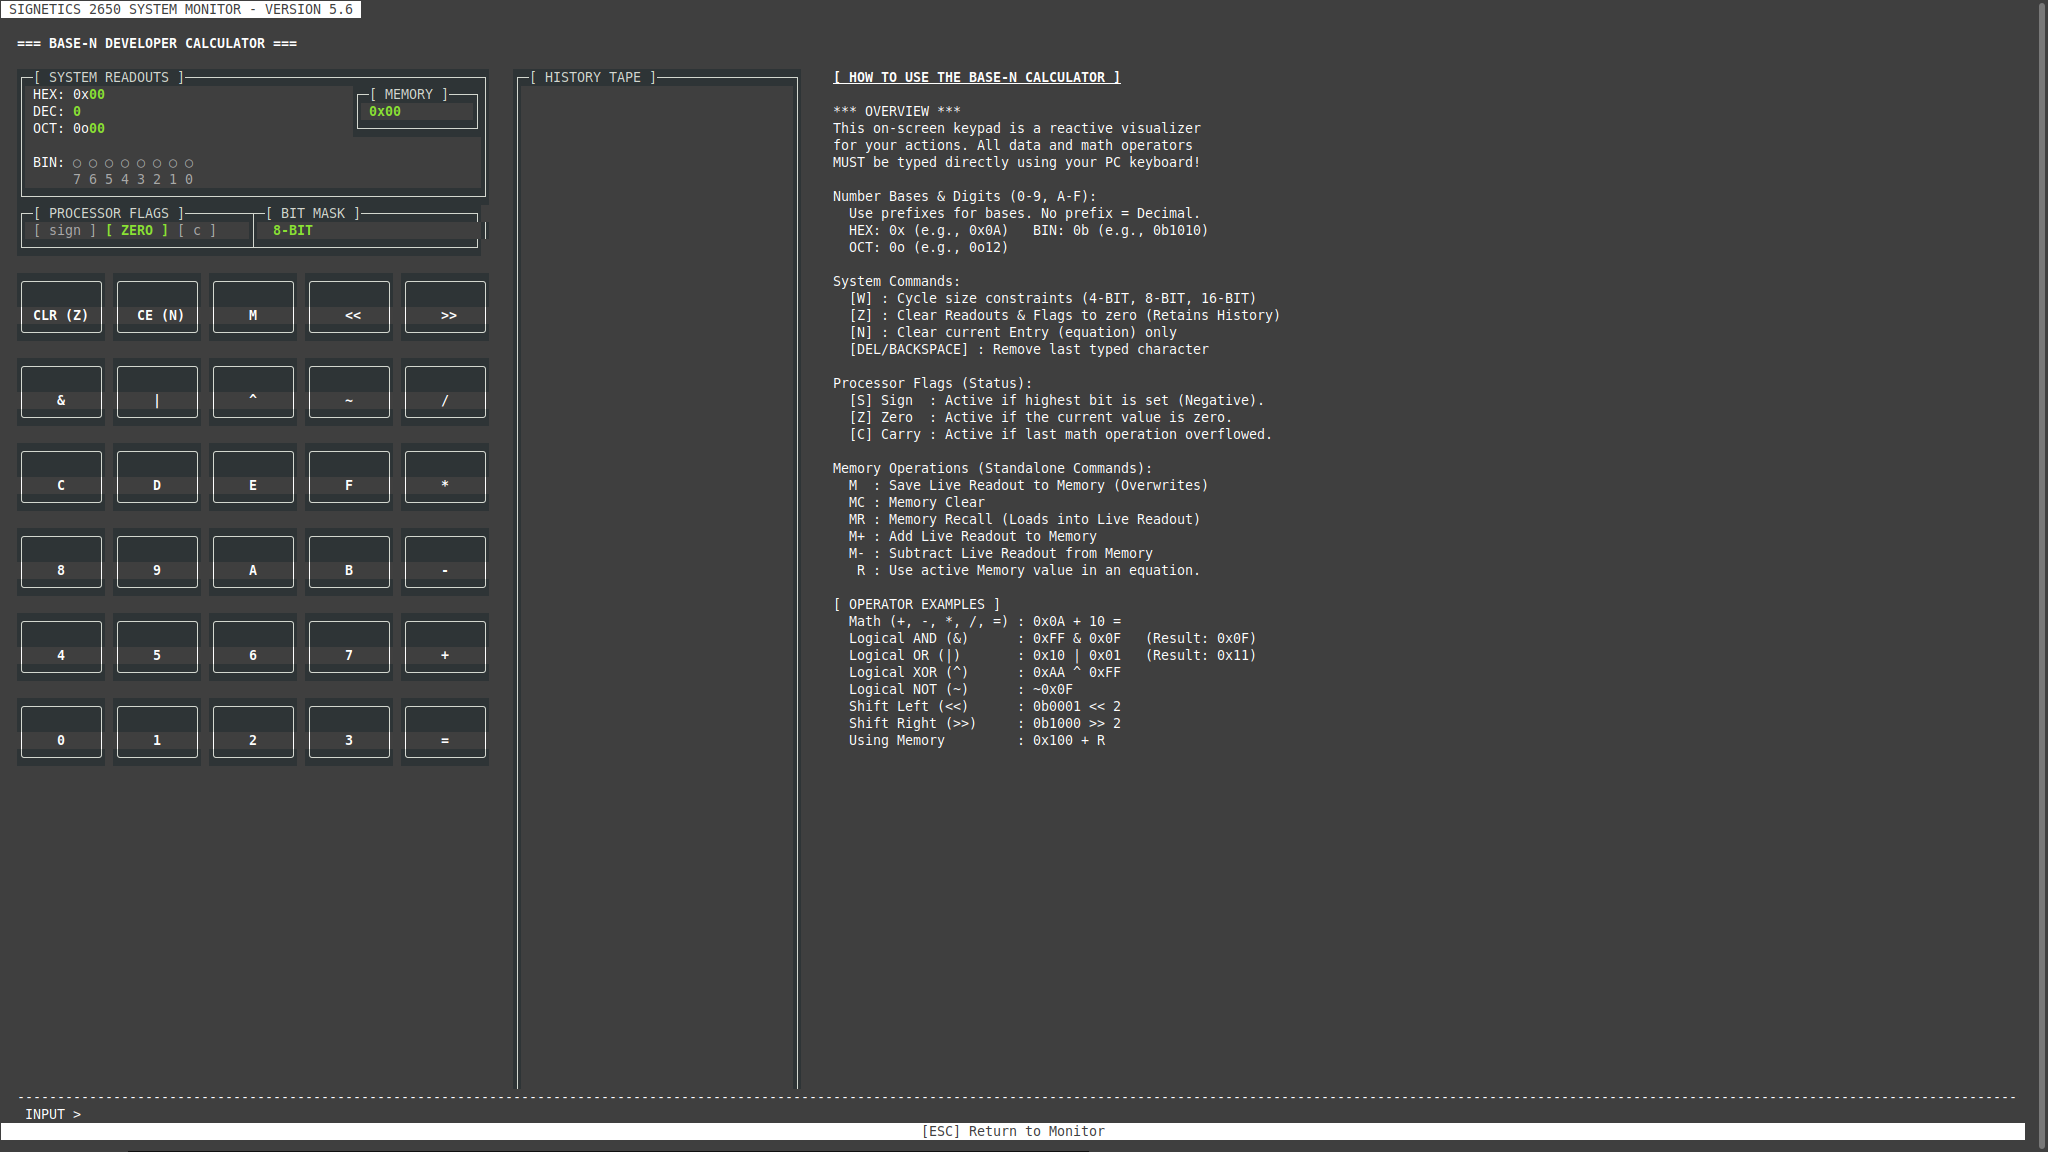
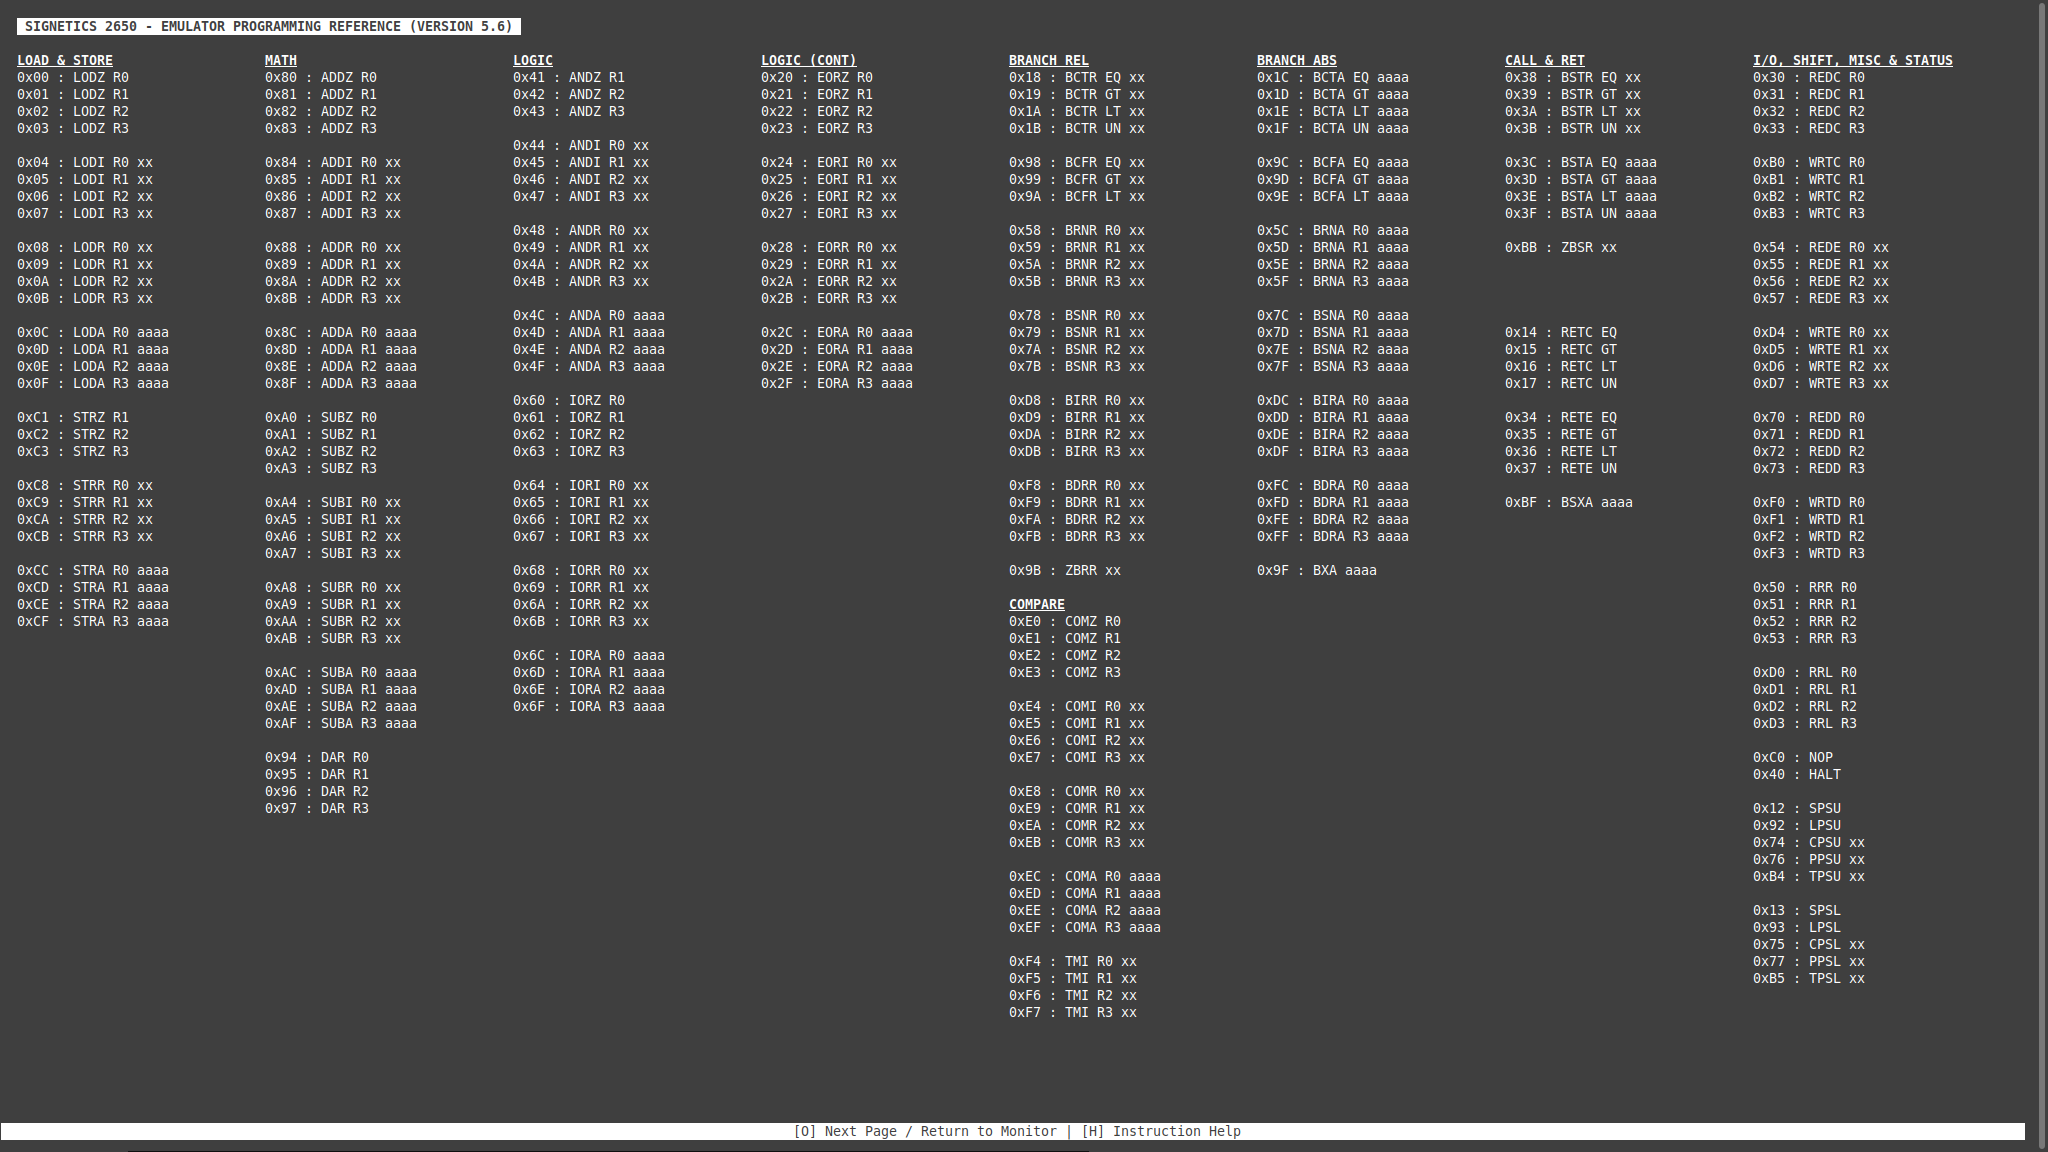
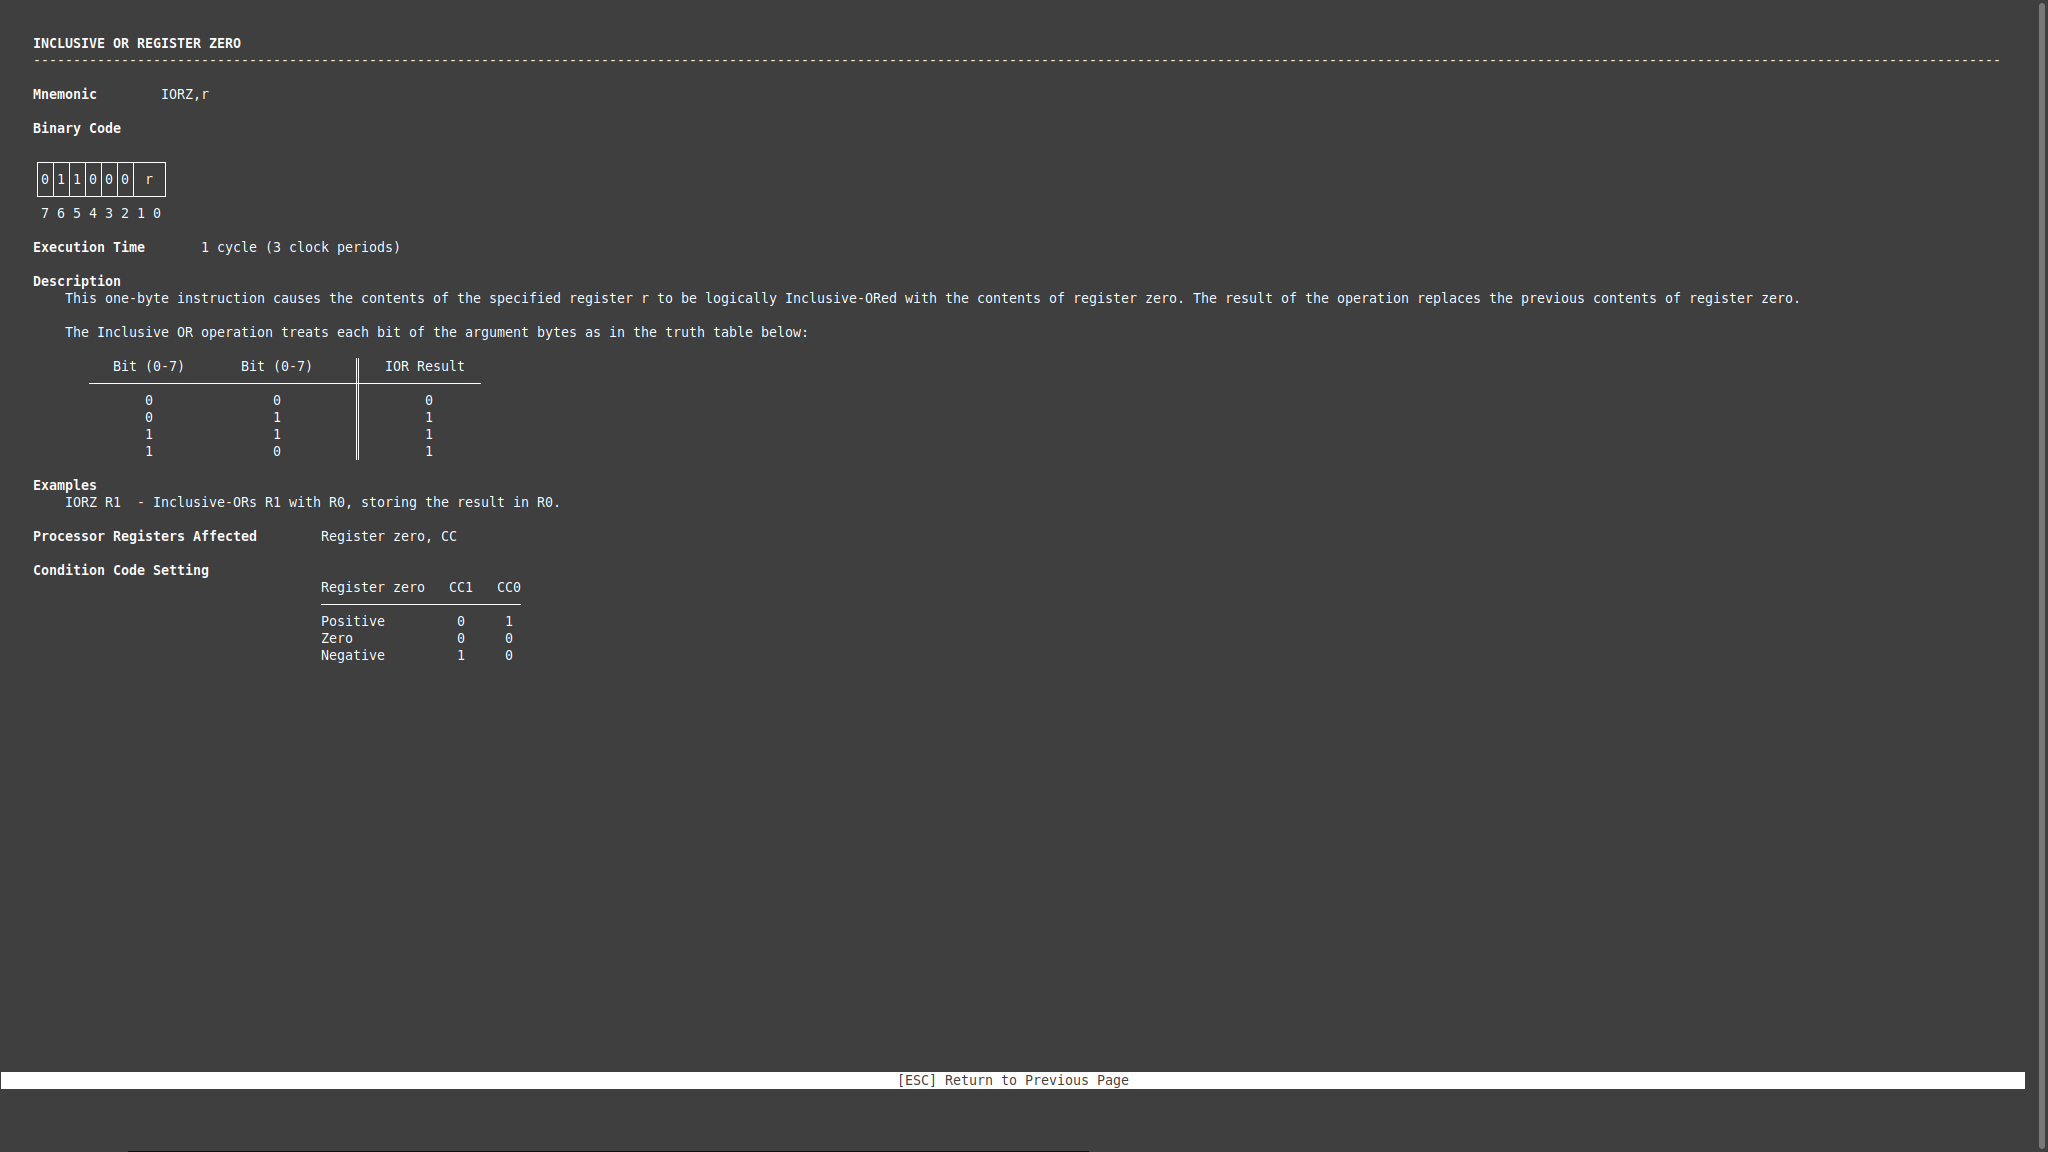
System requirements
The emulator was developed and tested on the following system:
| Operating System | Linux Mint 21.1 (kernel 5.15.0-181-generic, x86-64) |
| Hardware | Gigabyte Technology Z68XP-UD3P |
| Python | 3.10.12 |
| Monitor | 2048 × 1152 px via DVI-0 (510 mm × 287 mm) |
The following add-ons are required:
| Package | Type | Purpose |
|---|---|---|
| reportlab | Python lib | PDF generation — writes the assembler program listings and the punch card decks |
| pymupdf (fitz) | Python lib | Optical card reader — reads punch card PDFs back and decodes them into source code |
| fpdf2 | Python lib | Generates the assembler program listings as PDF |
Download
The emulator is distributed as a tar.gz archive containing the Python source, assembler samples, and supporting files. Download and unpack it with:
tar -xzf 2650-emulator.tar.gz
cd 2650
Install the required system packages with apt:
sudo apt install python3-venv python3-pip
Create and activate a Python virtual environment, then install the required libraries into it:
source venv/bin/activate
pip install reportlab pymupdf fpdf2
With the virtual environment active, run the emulator:
2650 folder with source venv/bin/activate before launching python3 main.py.
Optional
The assembler listing defaults to Courier. To print in a different font, update the font name in 2650.preference — the font's .ttf file must be present in the 2650/ working directory. The same preference file also controls the font size, page size, and page orientation.